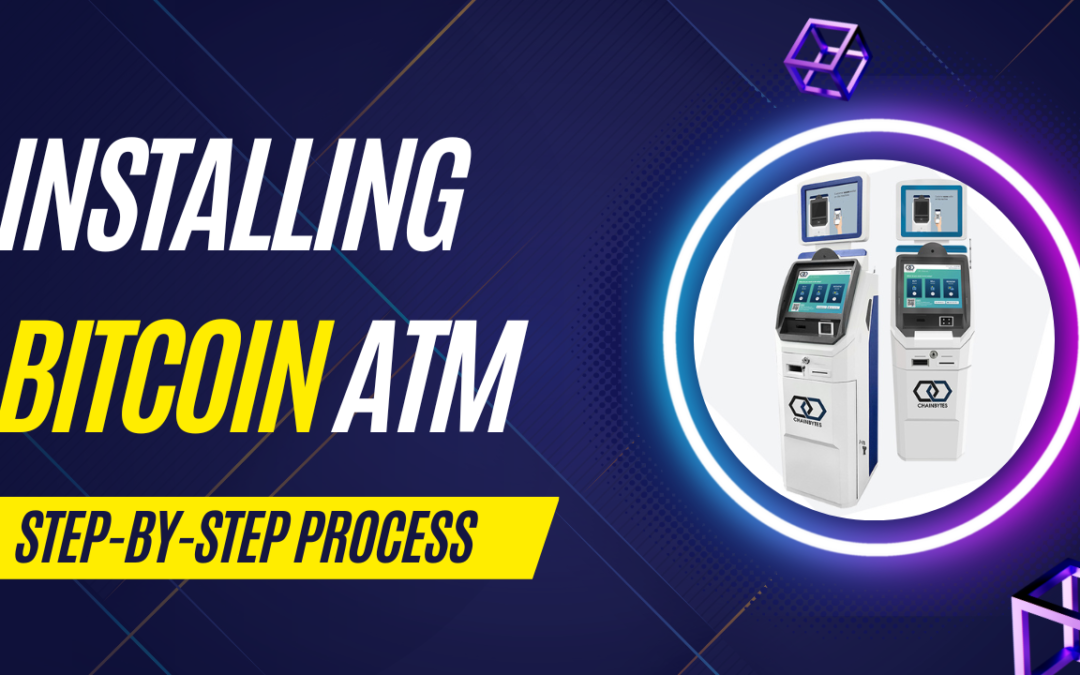
Installing a Bitcoin ATM doesn’t have to be a complex process. Many Bitcoin ATMs can be found in grocery stores, gas stations, food marts, liquor stores and more. The installation of this machine only takes a few minutes and is very easy to set up. Let’s take a look at some of the steps to installing a Bitcoin ATM machine.
The Installation Process
To ensure a proper set-up the first thing you should do is go inside the store and make sure you have plenty of space for the machine. Our bitcoin machines are 22 inches wide however, you will want to have at least 2 extra inches of space to be able to open the machine and leave room for the ventilation system. Once the machine is placed you can open up the machine, remove the wheels and you will see two holes in the machine floor which you can mark these holes with a permanent marker. You can then remove the machine from its current position and begin using a hammer drill with a ¼ inch drill bit to drill in the holes on the floor for the machine. You can then drill on the marked holes as far down as you can. After the holes have been drilled, you can then place the Bitcoin ATM back over the holes and tighten it by using the wedge anchors that come with the machine.
Connecting Your Machine to the Internet
There are multiple ways to ensure your machine connects to the internet. The machine’s most common connection is through an ethernet cable located in the back of the machine. You can connect this to a wifi router that is in the store.
In some cases, there will be internet plugins next to other ATM machines that you can plug into; however, that is not always the case. What you can do is look for points of sale within the store, that’s where you can always plug in to the internet. You would need to find out where the store is getting their internet from and use a long ethernet cable to then plug your machine into, a 100 ft ethernet cable is recommended. However, the machine does have a built-in wifi system as well if you are unable to connect to the store’s internet.
Additional Steps
After connecting your machine to the internet, begin the following:
Open the device from the center and find the receipt paper holder.
Remove the plastic retainer piece and grab the roll of receipt paper from your spare parts.
Slide the paper on the post from top to bottom and replace the retaining ring over it.
Finally, feed the paper into the printer and let it run a test print.
Perform a Test Purchase
It’s now time to perform a test purchase to ensure that your machine is working properly for customers. When your machine is powered on and you are connected to the internet. To run a test purchase first make sure you have cash and follow this process:
- Select the transaction range in which you will transact (for testing purposes we suggest testing a higher range)
- Enter your phone number
- Input the code number that was sent to your phone
- Scan photo ID on the machine
- Scan your bitcoin wallet address from your phone (make sure you have selected “receive” on your wallet address)
- Insert cash amount
- Confirm your purchase
- Take receipt from Bitcoin ATM machine
How to Get Started
Are you currently looking into adding a Bitcoin ATM machine to your current business? BTM Machines are Bitcoin ATM operators who help business owners like you that offer hosted solutions for ATM operators who are looking for a more passive income stream. Click on the video below for a more in-depth step-by-step process of deploying a Bitcoin ATM:
Follow us
Follow us on Social Media:
Give us a call! +1 (415) 529-5777 or shoot us an email.
Related News

Navigating the World of Bitcoin ATMs: A Comprehensive Guide to Dos and Don’ts
Introduction As the world of cryptocurrency expands, so does the infrastructure supporting it. Bitcoin ATMs have become one of the most sought-after services in the cryptocurrency ecosystem. With over 19,000 Bitcoin ATMs operating globally, it's crucial to know how to...
Negotiating Prime Rent for Your Bitcoin ATM: A Smart Investment
Learn about rent prices for Bitcoin ATM locations and how to negotiate the rent with potential store owners. In this article, we are bringing the best practices for renting a Bitcoin ATM location.

Understanding Bitcoin ATM Profits: A Deep Dive Into the Business
Introduction In the dynamic and rapidly evolving financial world, one revolutionary concept that has come to the fore is the Bitcoin ATM. Due to the increasing acceptance of digital currency and the growth of Bitcoin, the emergence of Bitcoin ATMs has altered how...
Order a Bitcoin ATM

ChainBytes Universal
$6,700

ChainBytes Universal + Top screen
$7,000
ChainBytes Universal
$6,700
ChainBytes Universal + Top screen
$7,000